A sudden outage can leave a garden walkway dark, a fountain unlit, and outdoor steps harder to see. Learning how to fix a low voltage landscape lighting system outage starts with careful observation, not guesswork. Check whether every fixture is off or only one section has failed. That detail often points toward the problem.
In my experience, common causes include a tripped GFCI outlet, a loose transformer connection, damaged cable, corroded wire connectors, or an overloaded transformer. Begin at the power source. Confirm the outlet works with a tested device, then inspect the transformer timer, photocell, and circuit settings. Turn off power before opening covers or touching connections. A digital multimeter can help verify low-voltage output, but it should be used according to the manufacturer’s instructions.
Walk the lighting route slowly. Look beneath mulch, around edging, and near recently planted shrubs. Spade cuts and animal damage can interrupt buried cable. Moisture inside a connector may leave green corrosion or a cloudy seal. Replace damaged connectors with outdoor-rated parts, and avoid twisting bare wires together as a permanent repair. That shortcut often fails after the next rain.
Some faults are less obvious. A transformer may show power while failing under load. Voltage-drop testing can reveal weak sections, especially on long runs. If wiring is buried deeply, the transformer smells hot, or the fault remains uncertain, contact a qualified landscape-lighting professional. A rushed repair can create another outage—or a safety hazard. This guide explains a practical process, while recognizing that every system has its own layout and limitations.
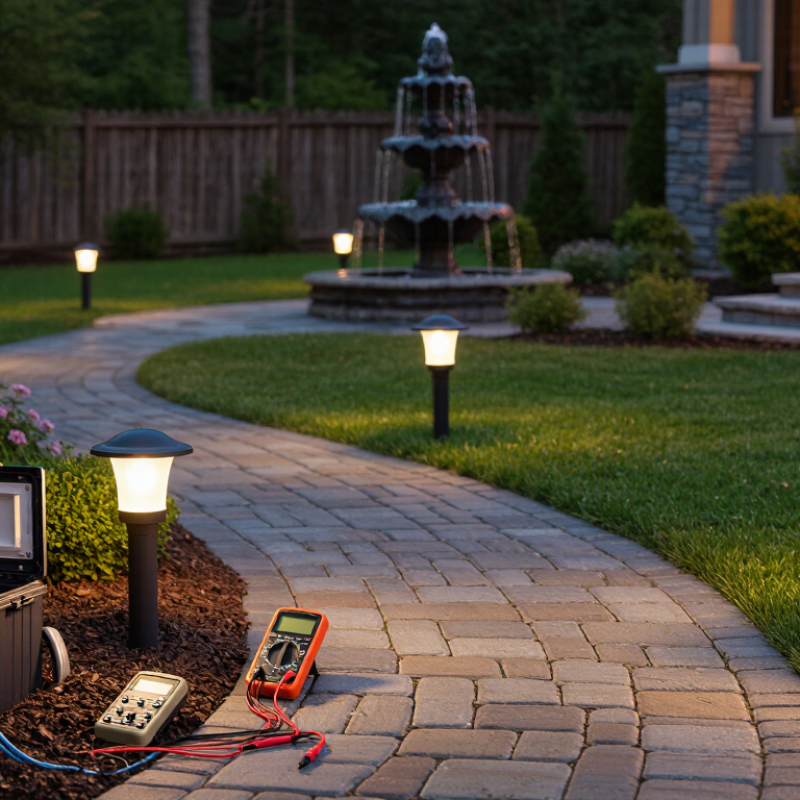
Identify the Symptoms and Safety Risks of a Landscape Lighting Outage
A low-voltage landscape lighting outage often begins with a dark pathway, flickering fixtures, or one section turning off after rain.
Treat these symptoms as warnings, not inconveniences. A tripped ground-fault circuit interrupter may indicate moisture, damaged insulation, or a wiring fault. Low voltage reduces shock severity, but it does not remove electrical risk. Water, metal connections, and damaged cables can still create dangerous conditions.
The National Fire Protection Association’s Home Structure Fires report for 2016–2020 found that electrical distribution and lighting equipment contributed to about 7% of home structure fires and 11% of related deaths. Outdoor systems deserve careful attention.
Turn off power before opening a transformer enclosure or touching buried connections.
Check the circuit protection device, timer, transformer output, and visible cable sections. Look for cracked insulation, loose connectors, melted plastic, or water inside fixtures. Do not repeatedly reset a tripped circuit.
A simple voltage test can identify excessive voltage loss along a long cable run. However, testing live equipment requires suitable instruments and training. The easy answer is often wrong. If the outage returns after drying, or if a cable is buried near digging activity, stop troubleshooting and contact a qualified electrician.
Never pull damaged cable from wet soil with bare hands.
Small garden lights can conceal serious faults. I would also document when the failure occurs, especially after irrigation or storms, because timing can reveal moisture-related problems.
Check the Power Source, Timer, Transformer, and Circuit Protection
Start at the power source. Confirm the outdoor outlet has electricity using a tested lamp or voltage tester. Reset the ground-fault protective outlet if it has tripped. A damp connection, loose plug, or damaged cord can interrupt the entire lighting run. Turn off power before inspecting any wiring. Never bypass a fuse or protective breaker.
Check the timer next. Its display may be blank, incorrectly programmed, or stuck in a manual setting. Replace the battery if needed, then verify the current time and operating schedule. I once blamed the transformer, but the timer had simply lost its settings after a power interruption. Small details matter. Test the outlet again during the scheduled “on” period.
Inspect the transformer for heat, buzzing, loose terminals, or a tripped internal reset. Low-voltage output should be checked with a suitable meter, following the device instructions. If no output exists, disconnect the lighting cable and test again. This helps separate a transformer fault from a downstream short circuit. Examine the cable for cuts, crushed sections, and corroded connectors. Wet splice points often cause repeated protection trips. Do not keep resetting the breaker. If the fault remains unclear, ask a qualified electrician to test the circuit safely.
Repair or Replace Faulty Components and Verify System Operation
How to Fix a Low Voltage Landscape Lighting System Outage?
Repair or Replace Faulty Components and Verify System Operation
A complete outage usually begins at the transformer, timer, photocell, or circuit protection device. Turn off power before opening any enclosure. Check the breaker, GFCI outlet, and timer settings. Then measure voltage at the transformer output with a digital multimeter. A reading near the system’s rated voltage confirms basic transformer operation, but it does not prove the cable is healthy.
Follow the cable toward the darkest fixture. Test voltage at the first connection, then at the final fixture. A sharp drop often indicates corrosion, a loose splice, damaged insulation, or excessive cable length. Replace sealed connectors that contain moisture. Repair cut cable with approved direct-burial connections. Replace a failed transformer, socket, lamp, or photocell instead of repeatedly resetting it. A quick splice may work tonight.
The U.S. Department of Energy reports that LED lighting uses at least 75% less energy and can last up to 25 times longer than incandescent lighting. That supports replacing outdated lamps with efficient, correctly rated alternatives. However, mismatched loads can still create voltage problems. After repairs, operate every fixture simultaneously and inspect performance after dark. Confirm stable voltage at the transformer and the farthest fixture. Check for flicker, heat, uneven brightness, and water entry. Recheck the system during its scheduled cycle the next evening. Even careful troubleshooting can miss a buried splice. When the fault involves line-voltage wiring, use a qualified electrical professional.
How to Fix a Low Voltage Landscape Lighting System Outage?
Voltage readings recorded along a 12-volt landscape lighting circuit can help locate a failed connection, damaged cable, or defective fixture. A sharp drop to near-zero voltage usually indicates an open circuit or faulty component that should be repaired or replaced.
The 10.5 V line is a practical troubleshooting reference for a nominal 12 V system; always confirm the operating range specified for the installed fixtures. After repairing or replacing the faulty component, retest voltage at each point and verify that all lights operate normally.
Conclusion
This guide explains how to fix a low voltage landscape lighting system outage by starting with a careful assessment of the symptoms and potential safety risks. Check whether the entire system or only part of it is affected, and turn off power before inspecting any components. Examine the power source, timer, transformer, circuit protection, and control settings for obvious problems. A tripped protective device, incorrect timer setting, or failed transformer may be responsible for the outage.
Next, inspect cables, connectors, fixtures, and bulbs for corrosion, loose connections, cuts, moisture, or visible damage. Use a suitable voltage tester to measure power at the transformer and at several points along the circuit, which can help identify where voltage is lost. Repair or replace damaged parts, secure all connections, and restore power only after the system is safely reassembled. Finally, verify that the lights operate consistently and that voltage remains within the system’s expected range.
 Merak Lighting
